
Hatha yoga for beginners: the essential poses
Hatha yoga is the ideal style for beginners. We cover the essential poses, correct alignment and a short sequence you can practise at home.
Many people who want to take their first step into yoga feel unsure when faced with all the style names: vinyasa, yin, ashtanga, hatha... Hatha yoga is generally the most recommended style for beginners, because it teaches the poses slowly, mindfully and in harmony with the breath. You stay in each position for a few breaths, get to know your body and settle your alignment. In this article we explain what hatha yoga is, the essential poses beginners should learn first and the points to watch in the first weeks.
What is hatha yoga?
Hatha is the general name for the yoga tradition built on physical postures (asana) and breathing practices (pranayama). Many of the yoga styles known in the West today are actually rooted in hatha. When a studio offers a hatha class, it usually means a calm-paced session where poses are taken one at a time and held, ending with a short relaxation. The slower pace gives you time to learn the movements correctly.
Why is hatha yoga ideal for beginners?
- The pace is slow, leaving time to understand the movement rather than just copy it.
- Holding poses builds muscular endurance and balance.
- Breath awareness creates a strong foundation for managing stress.
- Poses can easily be adapted with blocks and straps.
- It provides a solid base for moving on to more dynamic styles.
8 essential poses for beginners
1. Mountain pose (Tadasana)
Stand tall with your feet hip-width apart and your weight evenly spread over both feet. Without locking your knees, gently engage your thighs, lengthen your tailbone softly downwards and imagine reaching up through the crown of your head. It looks simple, but it is the foundation of every standing pose.
2. Downward-facing dog (Adho Mukha Svanasana)
With hands and feet on the floor and hips lifted, form an inverted V shape. Do not hesitate to bend your knees at first; the priority is keeping your back long. Your heels do not need to touch the floor. This pose strengthens the shoulders and stretches the backs of the legs.
3. Warrior II (Virabhadrasana II)
Step your legs wide apart, turn the front foot forward and the back foot slightly in. Bend the front knee so it stacks over the ankle, extend your arms out at shoulder height and gaze over the front hand. It is an excellent pose for leg strength and endurance.
4. Triangle pose (Trikonasana)
With the same foot placement as Warrior II, keep both legs straight, reach your torso out over the front leg and rest your hand on your shin or on a block. The aim is not to reach the floor but to keep both sides of the torso equally long.
5. Tree pose (Vrksasana)
Stand on one leg and place the sole of the other foot on your ankle, calf or inner thigh, avoiding pressure on the knee. Fixing your gaze on a still point makes balancing easier. Wobbling is normal; it is part of balance.
6. Cat-cow (Marjaryasana-Bitilasana)
On all fours, open the chest forward and gently arch the lower back as you inhale; round the spine and bring the chin towards the chest as you exhale. It is an ideal way to warm up the spine and learn to link breath with movement.
7. Child's pose (Balasana)
Kneel and lower your hips towards your heels, stretch your torso forward and rest your forehead on the floor. It is a resting pose you can return to at any point in class when you feel tired.
8. Corpse pose (Savasana)
Lie on your back, let your arms and legs relax and close your eyes. These few minutes of relaxation at the end of practice help the nervous system calm down and let the work settle into the body. Do not skip it.
A 15-minute beginner sequence at home
- 2 minutes of calm nasal breathing in a comfortable seat
- Cat-cow, 8 breath cycles
- Downward-facing dog, 5 breaths
- Mountain pose, 5 breaths
- Warrior II and triangle, 5 breaths on each side
- Tree pose, 5 breaths on each side
- Child's pose for 1 minute, then 3 minutes of savasana
Common beginner mistakes
The most common mistake is forcing the final version of a pose. Yoga is not a flexibility contest; back off as soon as you feel pain. The second mistake is holding your breath: if your breathing stops when it gets hard, ease the pose. The third is comparing yourself with the person on the next mat. Everyone's bone structure and history are different. Finally, regularity matters more than intensity; two or three short practices a week bring far more progress than one long class a month. If you have back, neck or knee problems, or are pregnant, consult your doctor before starting and let your instructor know.
Discover our yoga and breathwork classes
Breath: the invisible half of hatha yoga
In hatha yoga, the breath matters as much as the poses. The most basic technique for beginners is a calm, even breath in and out through the nose. As you inhale, feel the belly and ribs expand outwards; as you exhale, feel them gently draw in. When your breath shortens in a pose, it is a sign that you are approaching your body's limit at that moment.
As a simple exercise, try breathing in for four counts and out for four. After a few days, extend the exhale to six counts. A long exhalation helps calm the nervous system and lets you stay in poses more comfortably. Doing this small exercise for a few minutes at the beginning and end of your practice noticeably strengthens the mental effect of hatha yoga.
- Choose a comfortable seat; use a cushion if needed.
- Relax the shoulders and tuck the chin slightly.
- When your attention wanders, gently return to the breath.
Preparing for your first class
Avoid eating a heavy meal for two or three hours before your first yoga class and choose comfortable, stretchy clothing. Yoga is practised barefoot; you can bring your own mat if you like. Before class, tell your instructor that you are a beginner and mention any health conditions. If you do not understand a cue during class, do not hesitate to look around or ask. Yoga is not a race; in the first classes, the aim is to start getting to know your body and breath.
Most beginners feel mild muscle tenderness the day after class during the first weeks; this is normal and eases within a few sessions. Measure your progress not by flexibility but by how calm your breath stays. After a month, you will notice that you use less effort in the same poses and can hold them for longer.
Start yoga in Yalıkavak
At O'Wellness Yalıkavak you can start yoga with confidence in our indoor and outdoor sea-view studios. Begin the day gently with Sunrise Yoga, release the day's load with Sunset Stretch in the evening, and once you have the basics in place, move on to Vinyasa Flow. To choose the class that suits you best, call us or message us on WhatsApp at +90 539 675 74 74.
Frequently Asked Questions
What is the difference between hatha yoga and vinyasa?
In hatha you hold poses for a few breaths at a slow pace. In vinyasa, poses flow into each other with the breath at a faster tempo.
I am not flexible. Can I do yoga?
Absolutely. Flexibility is a result of yoga, not a requirement. With blocks and straps, every pose can be adapted to you.
How many times a week should I practise yoga?
Two or three practices a week is ideal at the start. Short, regular sessions give the best results.
Related posts
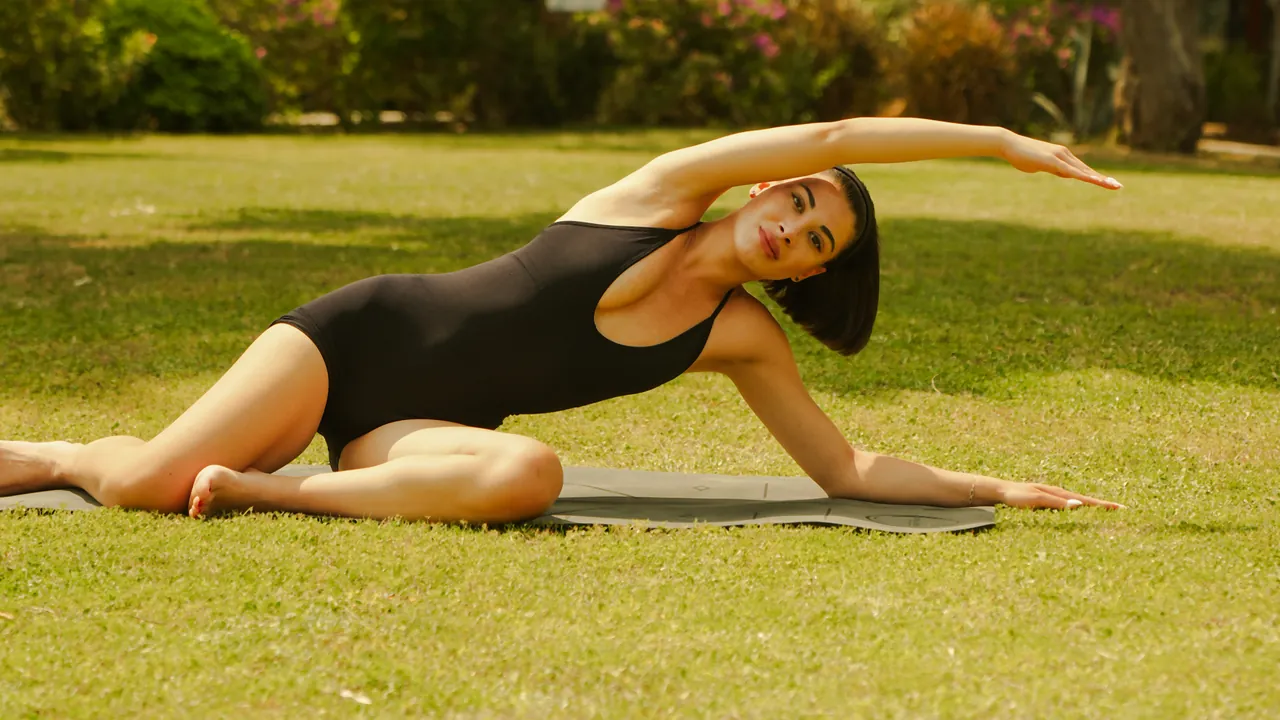
Pranayama: 7 Breathing Techniques and Their Effects
What are pranayama breathing techniques and how are they practised? Seven techniques from diaphragmatic breathing to Nadi Shodhana, their effects and safety tips.
A 10-minute beginner meditation by the sea: a step-by-step routine
A simple ten-minute meditation routine focused on waves and breath for beginners, with common difficulties.
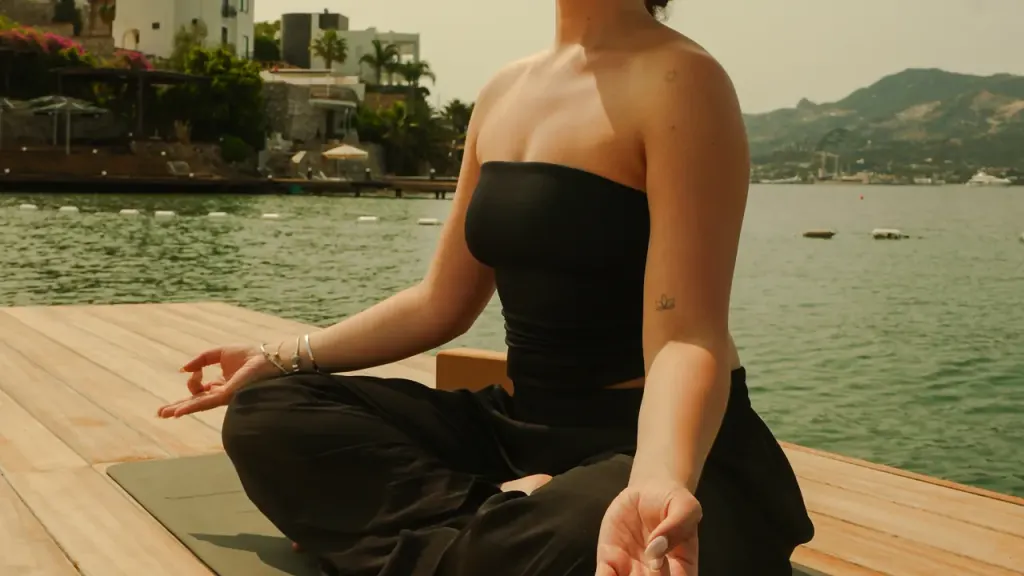
A 15-minute yoga flow to open shoulders and hips: after swimming and boat trips
A step-by-step, safe 15-minute yoga flow to ease the load that accumulates in shoulders and hips on holiday.
